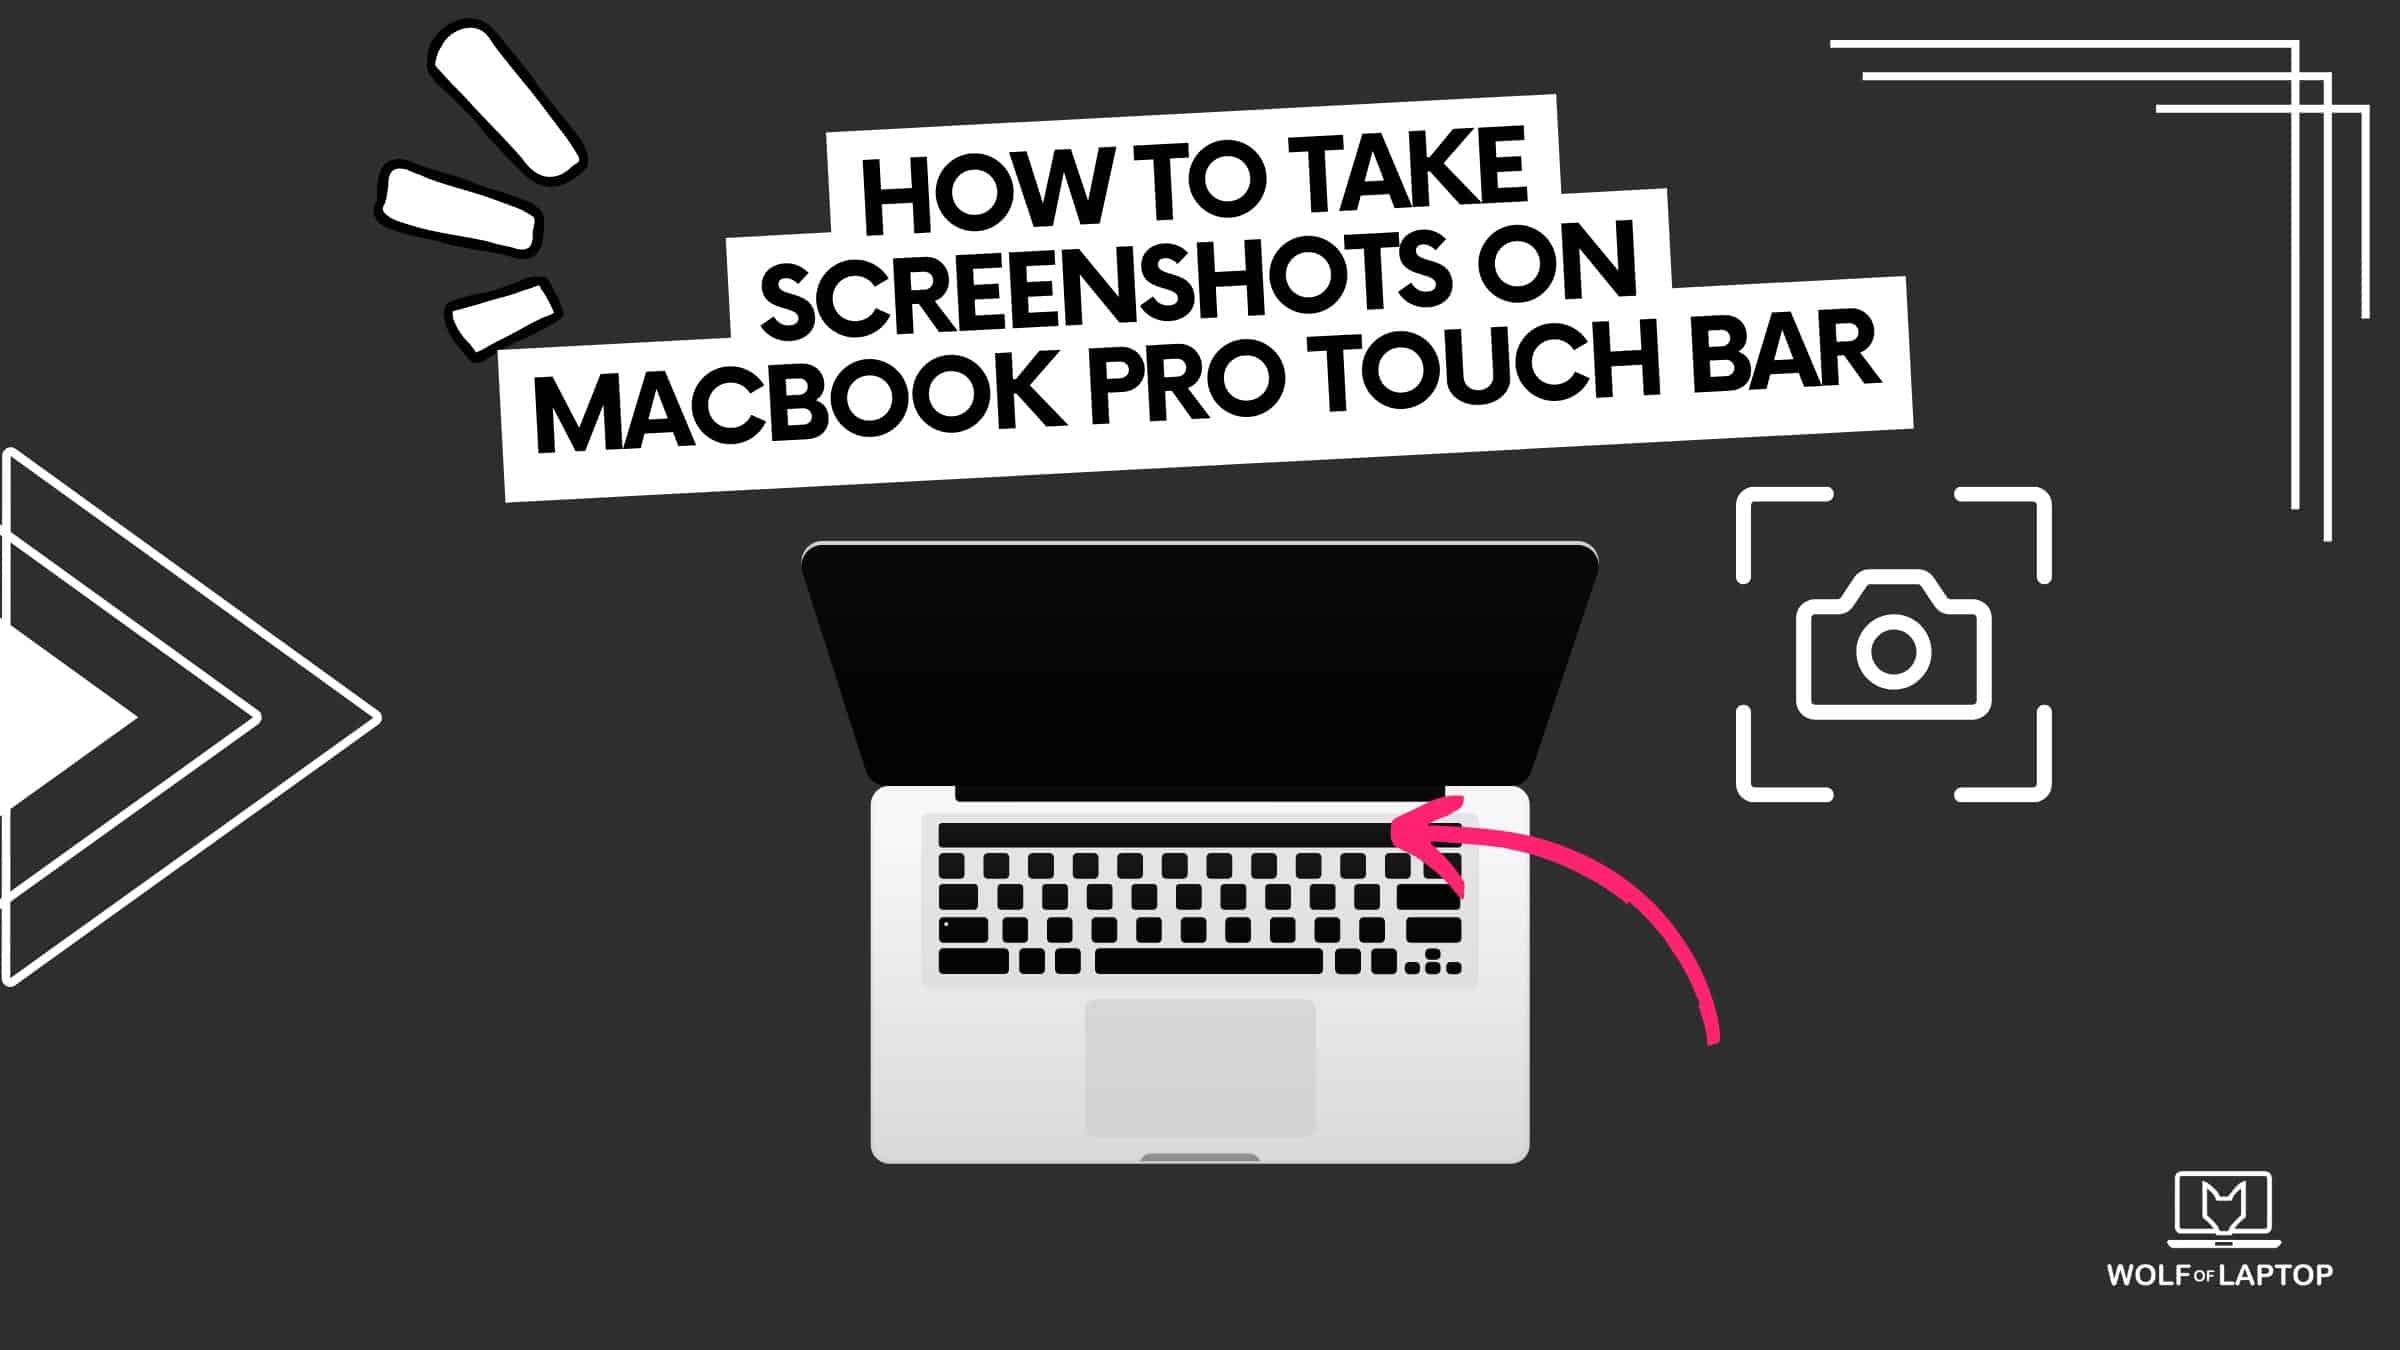
Ever found yourself asking, “How to take screenshots on MacBook Pro touch bar?” If so, you’re in the right place. We’re about to delve into the nitty-gritty of capturing your screen – both the regular way and, drum roll, please… using the Touch Bar!
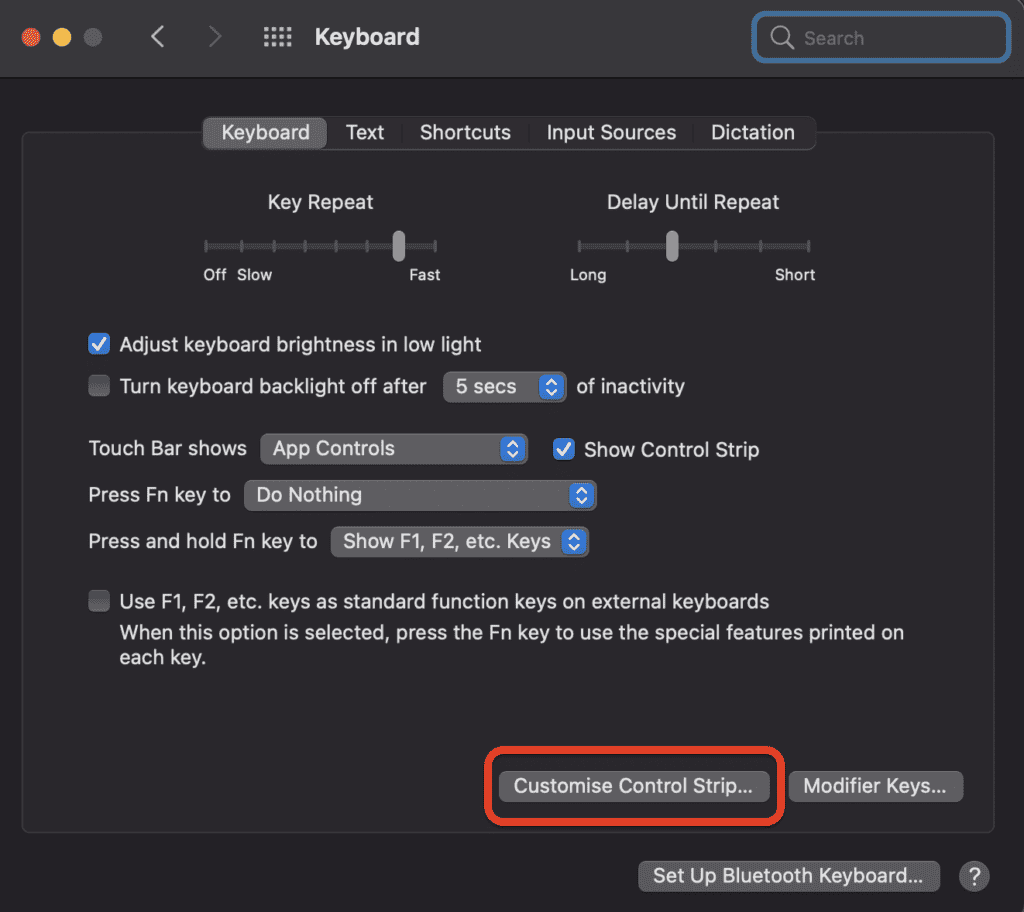
In order to take screenshots on MacBook Pro with a touch bar, you will need to edit your Mac’s settings. Open up keyboard settings, click on customize control strip, and there will be a “screenshot icon” you need to drag into your touch bar.
Now the icon will stay on your MacBook touch bar and by clicking it you can capture a screenshot at any time.
How To Take Screenshots on Macbook Pro Touch Bar – Step-by-Step

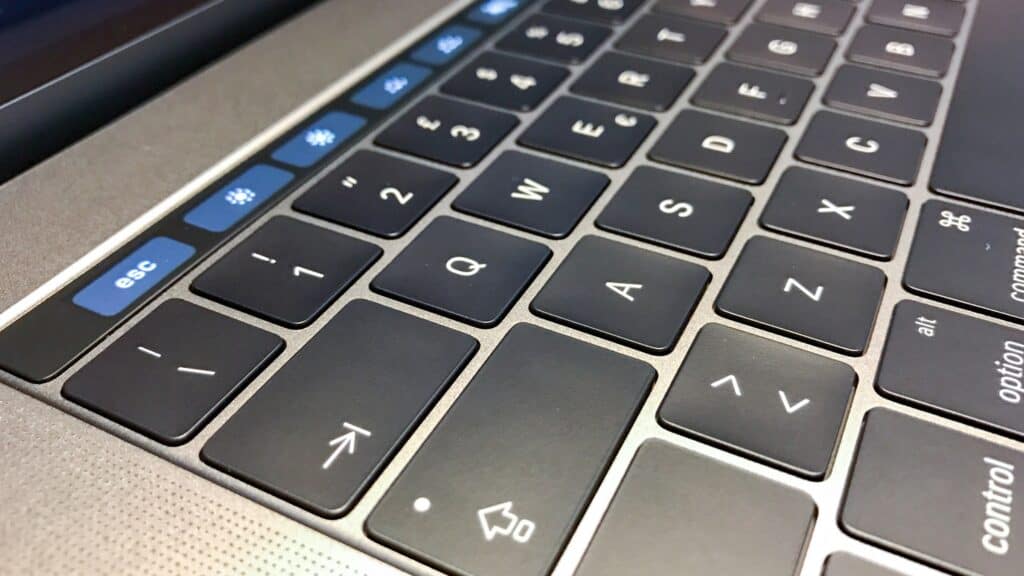
First off, let’s take a moment to appreciate the MacBook Pro’s Touch Bar. It’s like your own personal command center, nestled right above the keyboard. But did you know it can help with screenshots, too? Yep, we’re about to unlock a whole new level of Touch Bar mastery!
Related: MacBooks with Touchbar(List)
Adding the Screenshot Button to Your Touch Bar (Easy Steps)
Before we start clicking away, you’ll need to add the screenshot button to your Touch Bar. It’s as simple as 1-2-3, follow the steps below:

- Begin by clicking on that beautiful Apple logo nestled at the top left corner of your screen.
- Navigate to System Preferences.
- Within System Preferences, find and click on Keyboard.
- From there, find the ‘Customize Control Strip’ option.
- Now, you’ll see the Screenshot icon. Just click, drag, and drop it onto your Touch Bar.

Voila! You now have the power to screenshot directly from your Touch Bar.
How to Take Screenshot on MacBook with Touch Bar? (Quick Steps)
Now that we’ve set up the Screenshot icon on your Touch Bar, let’s start using it!
- Tap the Screenshot icon that you just added.
- You’ll see a few options. “Entire Screen” lets you capture, well, your entire screen. Easy peasy.
- Want to save your screenshot directly to the desktop? Simply tap “Desktop”.
- If you’re feeling a bit selective, the “Selected Portion” option lets you handpick a portion of your screen to capture.
- “Select Window” is another cool feature that lets you select and capture a specific window.
And just like that, you’re a screenshot-taking pro!
How To Take Screenshots on MacBook
- To capture the entire screen: Press “Command (⌘) + Shift + 3” simultaneously. The screenshot will be saved as a file on your desktop.
- To capture a portion of the screen: Press “Command (⌘) + Shift + 4” simultaneously. Your cursor will turn into a crosshair. Click and drag to select the area you want to capture. When you release the mouse, the screenshot of the selected portion will be saved as a file on your desktop.
- Press “Command (⌘) + Shift + 6” simultaneously. It capture a screenshot of the Touch Bar on a Mac.
After pressing this shortcut, the screenshot of your Touch Bar will be saved as a file on your desktop. The file will be named “Touch Bar” and will be in PNG format. If your Mac doesn’t have a Touch Bar, this shortcut will not capture anything.
Conclusion
Capturing screenshots on your MacBook Pro has never been easier, thanks to the powerful Touch Bar feature. By customizing your Touch Bar and adding the screenshot icon, you gain quick access to this essential function. Whether you need to capture the entire screen, a selected portion, or even the Touch Bar itself, these simple keyboard shortcuts and Touch Bar interactions make the process seamless and efficient.
Now you can effortlessly capture and save important moments or information, enhancing your productivity and creativity on your MacBook Pro.
You might want to know all the ways you can take screenshots on iPad
Ernests is the founder and chief editor at WolfofLaptop, with extensive experience as an editor and writer for numerous other tech blogs. His journey into the world of tech blogging evolved from a background in marketing, eventually leading him to become a full-time tech enthusiast. Ernests has successfully merged his marketing expertise with his passion for technology. He has a deep affection for computers, iPads, and smartphones, and his writing style is geared toward offering helpful insights to a global audience. Ernests specializes in crafting comprehensive guides, buyer's guides, and news articles.
In his spare time, Ernests enjoys staying active with activities like running and sports. He's also an avid movie enthusiast and finds relaxation in gaming, particularly on his trusty PS5.

